 icon. This invokes the Create Table dialog box:
| Home | Previous Lesson: Creating a Database Next Lesson: Column Attributes |
To create a new table, select Tables located under ODBC > Product folder and select New Table from the popup menu or click on the icon. This invokes the Create Table dialog box:
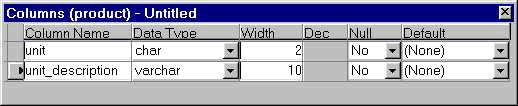
Type the following text for the prompts. We will explain about them later in the session.
|
Name |
Data Type |
Width |
Decimals |
Null |
Default |
|
unit |
Char |
2 |
<none> |
No |
(None) |
|
unit_description |
varchar |
10 |
<none> |
No |
(None) |
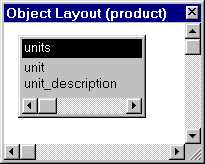
Save the table as units by selecting File > Save from the menu and close the pane. Once you close the pane, PowerBuilder displays the created table in the Object Layout and it looks something like this picture:
| Home | Previous Lesson: Creating a Database Next Lesson: Column Attributes |