| Home | Previous Lesson: Mail Merge Next Lesson: Running the Example |
Invoke MS-Word and create a new document. Select Tools > MailMerge from the menu.
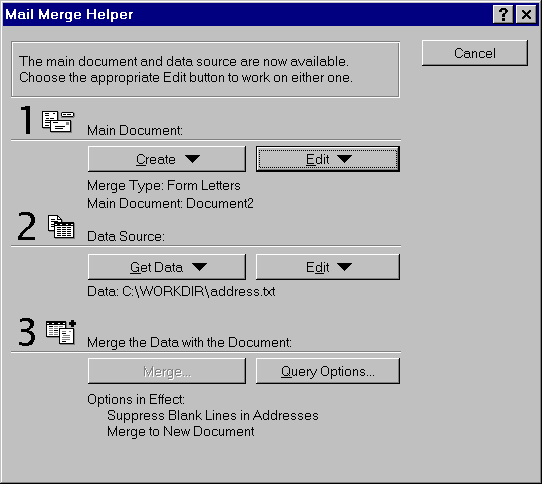
In the dialog box, select 'Form Letters' under the 'Main Document' heading by clicking on the Create button. Select 'Open DataSource' from the 'Data Source' heading and select "c:\workdir\address.txt" file.
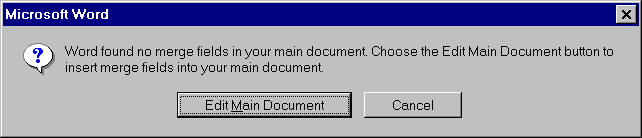
MS-Word displays a prompt as shown in the above picture. Now, Select 'Edit Main Document' option.
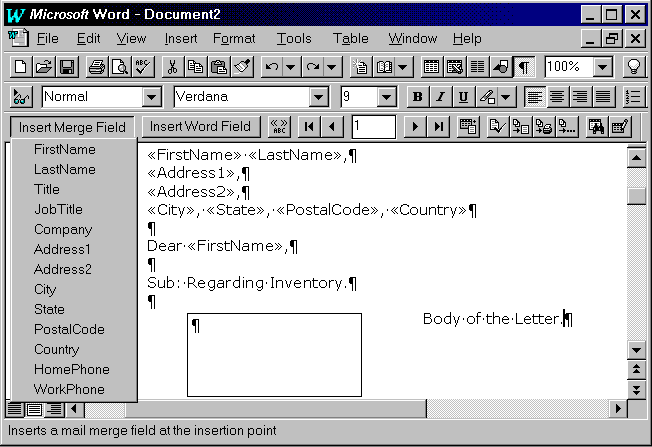
Place the mail merge fields in the document by selecting from the popup menu of 'Insert Field' button. Insert a frame in the document. Make a book mark "GraphHolder" for the frame by selecting 'Edit > BookMark' from the menu. Now, we need to define a macro we want to run from PowerBuilder to do the actual mail merging.
Select 'Tools > Macro' from the menu. Type InsertGraphAndMailMerge and select Record option. Click OK for the next prompt. Now, MS-Word displays a small window with Stop and Pause icons  . Stop recording the macro. Now, select Tools > Macro from the menu. Select "InsertGraphAndMailMerge" and click on Edit button. Type the following code.
Sub InsertGraphAndMailMerge
	EditGoTo .Destination = "GraphHolder"
	EditPaste
	MailMergeToDoc
	FileSaveAs .Name = "C:\workdir\mail-out.doc", .Format = 0, .LockAnnot = 0, .Password = ""
	DocClose
	EditGoTo .Destination = "GraphHolder"
	CharRight 2, 1
	EditClear
	FileSave
	DocClose
	FileExit
End Sub
Save the document as "c:\workdir\main.doc" and exit word. Open MS-Word again and open "c:\workdir\main.doc".
This macro moves to the bookmark called GraphHolder, which we've defined in the document, and pastes the graph at that position and then merges the data in address.txt into the document. It then saves the merged document as c:\workdir\mail-out.doc. Finally it tidies up the existing document by deleting the graph and clearing all merged text for the next use.
| Home | Previous Lesson: Mail Merge Next Lesson: Running the Example |